

(under construction)
| Assembly | Lubrication | Label and date |
| Assembly |
The core liner cutter is used to cut the 3 inch plastic liner employed in piston coring. This liner cutter is custom designed to make a clean circular cut around the tubular liner. After the core liner is removed from the pipe barrel and placed in the rack, the liner is marked in sections and cut. More details can be seen in the Geotech Deck Processing page.
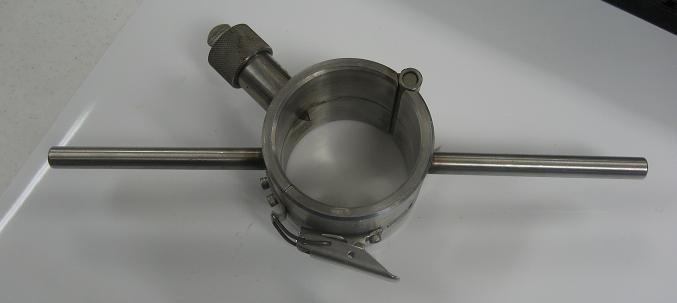 The 3 inch core liner cutter is a critical piece of equipment in piston coring. While there are liner cutter repair kits on board, the parts are not always replaced and due to improved design- not all parts fit all cutters, leaving you limited options for repair. Before you even leave the dock, make sure you have at least one working liner cutter, a few spare blades, spare screws and the tiny phillips and allen wrenches to disassemble it. Each 3 inch liner cutter consists of 15 removeable pieces. They are: 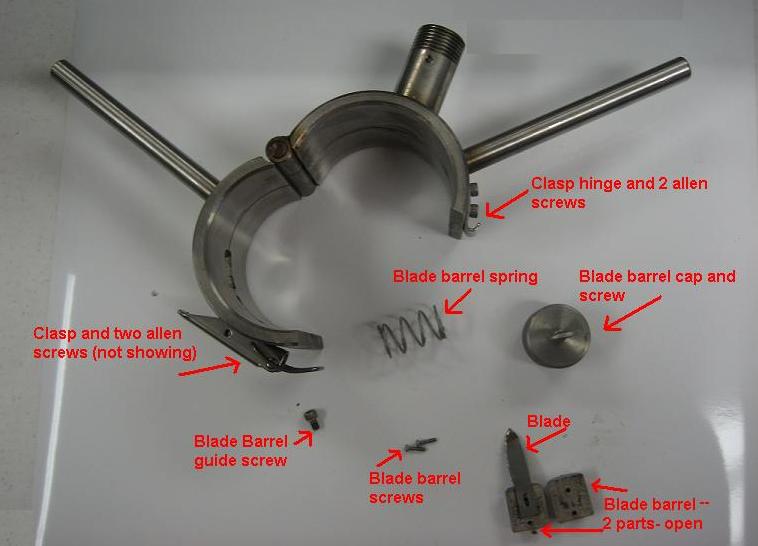
Before you start coring, it is a good idea to take the cutter completely apart, clean it with fresh water and thoroughly lubricate all parts. The parts that need the most attention are those located in the blade barrel. Unscrew the blade barrel cap, remove the blade barrel and spring. Remove the screws that hold the blade barrel together and remove the blade. Wash all parts with fresh water and dry thoroughly. At the end of each day, rinse the whole unit with fresh water to keep it in good working condition. |
| Lubrication |
After taking apart the liner cutter, wash all pieces in fresh water and dry thoroughly. Use fine grain sandpaper to remove excessive rust or grit. Replace the blade, using silicon grease to lubricate all parts of the blade barrel, screws and all of the blade. Make sure the inside of the blade barrel and the spring are also well lubricated. Insert the blade barrel and screw it in, making sure the blade lines up with the blade hole. |
| Label and date |
|
At the end of the job, when the liner cutter has been completely cleaned and lubed, wrap the outside with one strip of electrical tape. Write your name and the date on the tape. If you need any replacement parts for your kit, complete the resupply form and send it as an attachment in an email to resupply@tdi-bi.com |